The process for making cloth buttons is discussed in the Museum of London Book on Clothing and Textiles. The buttons were found in digs dating from the 14th c. and were used when the fashion for more fitted garments were in use. Here is my method for making cloth buttons.
I start with a disk of cloth approximately 2" in diameter.
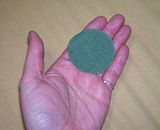
I then sew a running stitch along the edge of the disk, approximately 3/16" in from the edge (be careful if you fabric frays a lot). Once I'm back at the beginning I gentle pull the running stitch to gather the button into a smaller disk. I use quilting thread, but you can use waxed linen thread, make sure whatever thread you use is nice and strong.
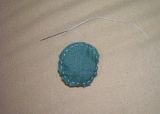

I then sew a second running stitch along the edge of the smaller disk, the gathers make it very handy to place the stitches evenly. Carefully pull this row of stitches and you will get something that resembles a round button.
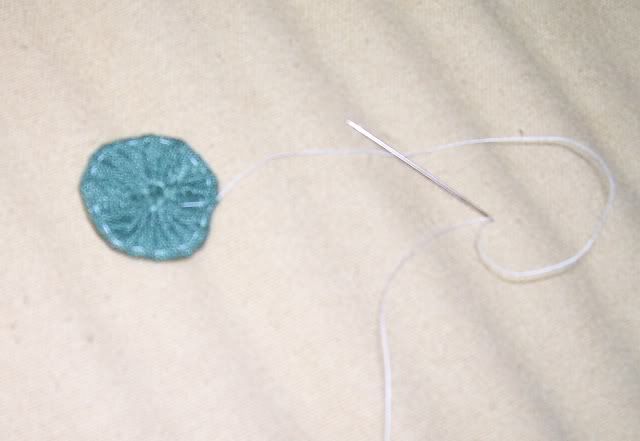
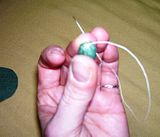
To close the end of the button I simply sew some whip stitches back and forth and then knot the end securly. (sorry for the fuzzy picture)
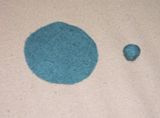
Here is what it looks like from start to finish. The finished button measures 1/2" diameter.
When sewing it to a garment one would make a shank, which consists of several loops of thread from the garment to the button that are then held proud of the surface (approx 1/4") and wrapped with the sewing thread and secured.
4 comments:
What a cool tutorial! This weekend I'm going to dig my sewing machine out of the garage because I have to hem some jeans and I have a pile of other stuff that needs altering and has languished fo-ever waiting on me. Just seeing this makes me remember how much I used to love sewing, and I need to get back into it.
Also: hi!!
Thanks! Good luck with your sewing!
Great tutorial. I have seen this type on clothes.. Just googled 'making cloth buttons tutorial' and voila, I get a nice tutorial on your page. Thank you very much!
Glad to help!
Post a Comment